Windows 7 Tips and Tricks Part 2:Modify bootloader configuration and OS descriptions
Part 1: Patch uxtheme.dll And Apply Custom MSStyles
The Windows 7 installer makes Windows 7 as the default OS and renames XP as “Previous version of Windows”. This is pretty annoying, and it becomes worse if you have both 64 and 32 bit installed on the same computer.It shows both of them as same OS.In windows XP, all the boot entries were stored in boot.ini in C:/ drive. Changing the descriptions was as easy as editing boot.ini. With Vista and Windows 7, Boot editing require commandline tools like bcdedit.exe.
For novice users, there is a GUI tool named EasyBCD which can modify and edit bootloader entries in Windows 7 and Vista. Here is a step by step guide to change OS descriptions
1) Download EasyBCD from this link: Download From Neosmart
2) Open EasyBCD and Goto Settings in left pane.
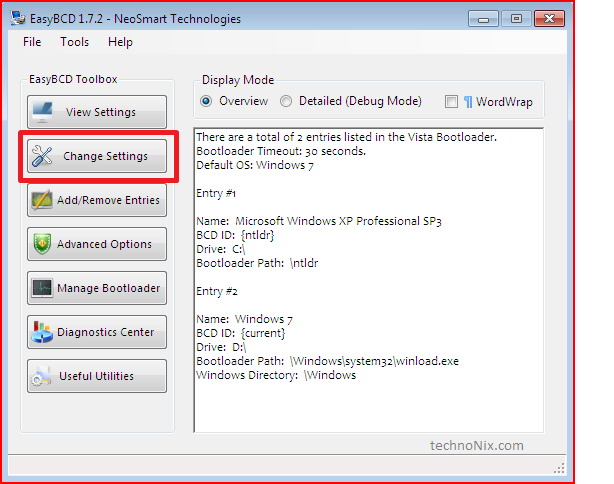
3) Choose “Previous Version Of Windows” in the dropdown menu present in “Entry Based Settings”.

4) Change “Name” to anything that you like. Do not change the Drive Option.
5) Hit “Save Settings”. Reboot and Enjoy.